
by Karen Hinckel on Mar 9, 2023 10:30:00 AM
Besides reading or crafting, one of my favorite ways to relax, rebalance, and destress is a form of needlework called cross stitch. The repetitive movements are soothing. Working with my hands is satisfying, and the feeling of accomplishment after completing a piece is rewarding.
In a utilitarian sense, needlework has been around for as long as people have been wearing clothing. It wasn’t long before someone figured out that not only could thread keep cloth together; it could also make cloth beautiful and could be used to indicate skill, rank, and wealth (think of ecclesiastical robes, tapestries in castles or keeps, or airy, intricate lace). The term needlework means anything that uses a needle for construction and encompasses crochet, knitting, tatting (which uses a shuttle to make lace), sewing, needlepoint, and embroidery. Embroidery is like painting, just with thread and fabric instead of paint and canvas and has hundreds of different types of stitches. One embroidery stitch is the cross stitch. Cross stitch is an X shaped stitch that is repeated to form a pattern. Cross stitch is easy to do, soothing, relaxing, and very rewarding.
Let’s Get Started
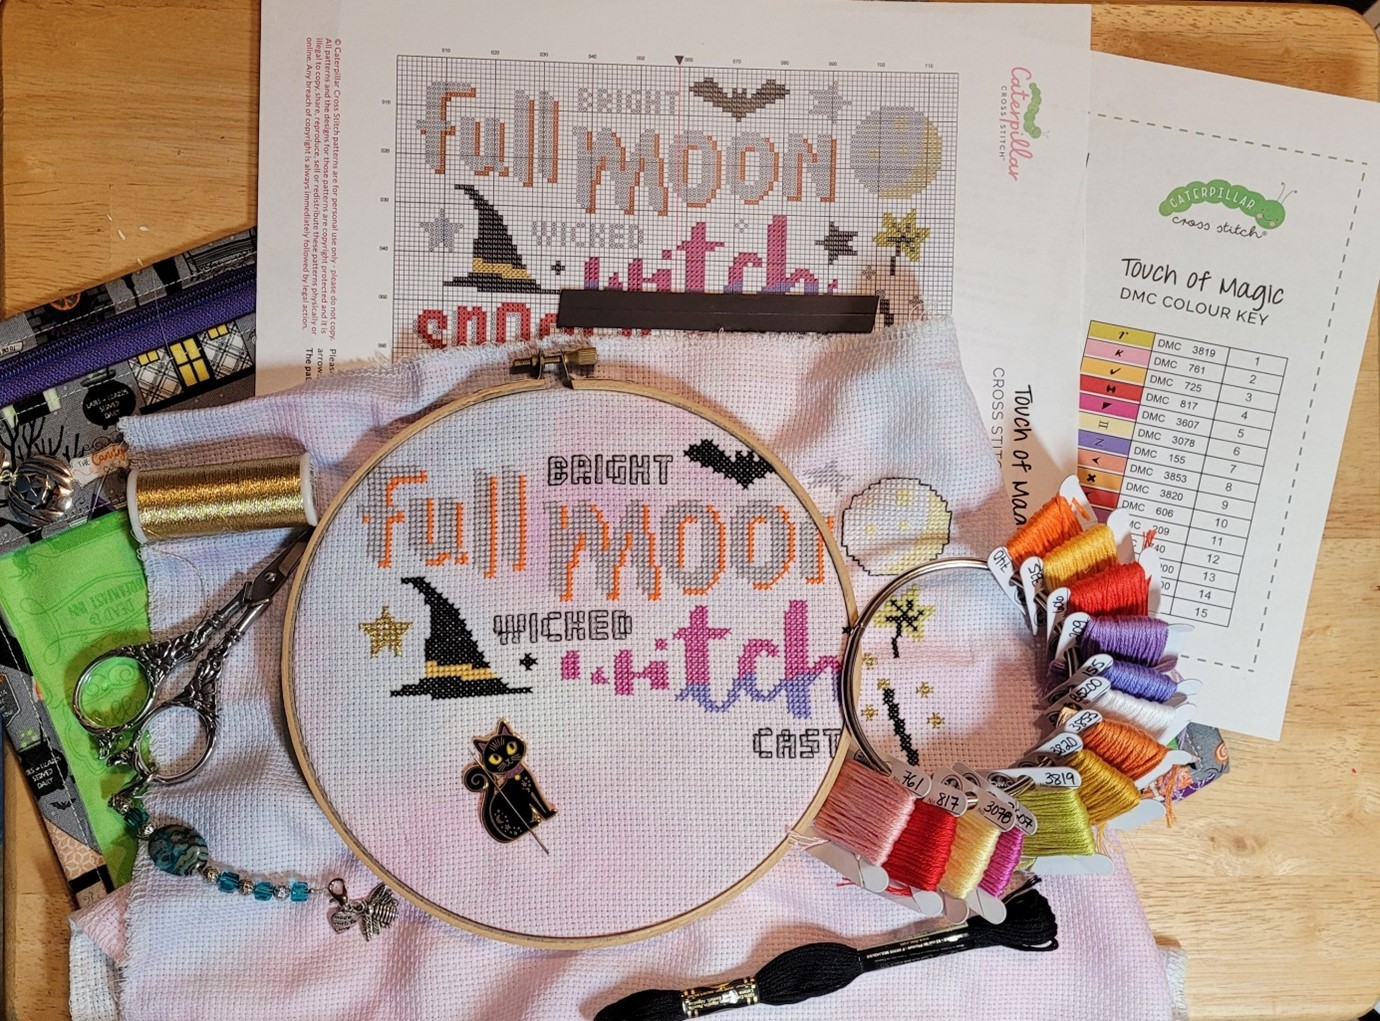
To get started cross stitching, you need to gather your supplies. Cross stitch doesn’t require a large financial investment to get started. Premade kits are a good option as they usually include everything you need for a project except for scissors and possibly a hoop. Kits are available in most craft stores (Michael’s, Hobby Lobby, Joann’s) or online through various independent stores. Completing a kit will give you a chance to see if you like the hobby and want to pursue it any further.
Purchasing supplies individually requires a little more work, but also allows more options for customization such as changing thread colors or adding beads or charms. For counted cross stitch, you need a pattern. Patterns can depict anything – seasonal themes, animals, pop culture, nature scenes, people – if you can imagine it, you can find a cross stich pattern depicting it! I’m currently working on a piece featuring a video game character for my son. You can purchase a pre-printed pattern, print one out that you purchased online, or use a tablet or phone to view the pattern. Options are always a good thing. The pattern will come with a key that explains the colors and symbols used in the pattern. Each symbol (and sometimes color) on the pattern corresponds to a specific color of thread. The pattern instructions will also tell you what colors and how many skeins (individual portions) of threads you need, how big the finished piece will be, and how much fabric is required for the project. For stamped cross stich, the pattern is stamped on the fabric instead of printed on paper or viewed on a device but will still come with a key. Either type will help you create a beautiful final product.
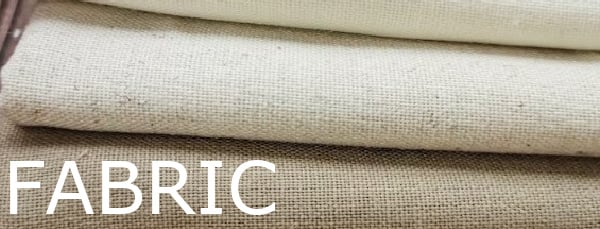
There are several types of fabrics you can use for cross stitch. Any fabric with an even weave (regularly spaced horizontal and vertical threads) will work; however, the most popular types of fabric are aida cloth or evenweave fabric. Aida cloth is the easiest to use, in my opinion anyway, and is good for beginners and more experienced stitchers. Picture graph paper with holes at the cross points, and you have aida cloth. 14 count is the most regularly used size. This just means that there are 14 holes or squares per inch of fabric. Aida comes as big as 11 count (great for children or beginners) all the way up to 32 count (which produces beautifully detailed pictures, but can be hard on (ahem) older eyes). Evenweave is another type of fabric that is more traditional, has a looser weave, and is therefore a bit more difficult to use for some people. If you are purchasing the fabric in a craft store, you will usually have limited color options – usually white or cream, or sometimes black, grey, or blue. However, online shops have huge arrays of custom dyed fabrics. Another option is to dye your own fabric using any one of several methods. Word to the wise, be sure and wear gloves while you dye the fabric as the dye takes a long time to wear off your skin…or so I’ve heard, lol.
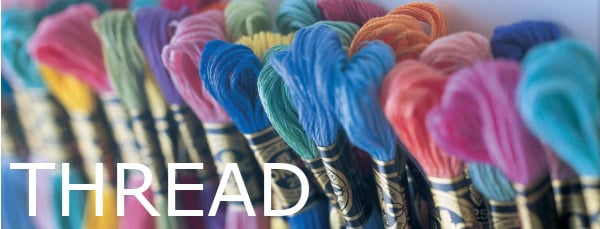
Next on the supplies list is thread. The most widely known brands are DMC and Anchor. DMC has been in business since 1746 and has a consistent, beautiful, quality product. There are also smaller, artisan threads available – Weeks Dye Works, Classic Colorworks, Kreinik, Sulky, and many more. Threads can be cotton, pearl cotton, or metallic and solid or variegated in color. Each project is unique and can be done all in one color or use up to hundreds of colors for an extremely complicated piece.
.jpg?width=600&height=229&name=embroidery%20hoop%20(1).jpg)
You’ll probably need a hoop (a set of wooden or plastic circles tightened by a clasp at the top or plastic squares with clips on the sides that keep the fabric taught) or you can stitch “in-hand.” In-hand just means that you stitch without a hoop or anything else to keep the fabric spread and taught. Personally, in-hand stitching isn’t for me since my OCD demands that each stitch look as identical to all the others as possible.
.jpg?width=600&height=229&name=misc%20supplies%20(1).jpg)
The last of your necessary supplies are a needle and some scissors. Needles vary by length, thickness, size and shape of the eye (opening where the thread goes through), sharp or blunt tip, and material. For cross stich, a good start is a medium-length, blunt tip needle – gold plated if you can find it. Believe it or not, the oils on your hands and fingers will wear away the finish of a steel needle over time. Any type of scissors will work, but embroidery scissors will have a sharper, smaller tip for precision and smooth cuts.
Other supplies you might get that aren’t necessary but do add a perk to the process are needle minders, magnetic boards, project bags, beads, ribbons, or charms. Needle minders are a relatively recent innovation that I don’t know how I’ve ever lived without. These are magnetic, enameled images that clip onto your fabric and “hold” your needle while you’re changing threads or taking a break or storing your project for the night. Believe me, there is nothing more heart stopping than dropping your needle and then being afraid to walk across the carpet or sit down on the couch since there’s chance you’re going to impale yourself on the dropped needle. Magnetic boards hold your pattern and have strips that mark your place in the pattern. Project bags are a beautiful way to keep all your supplies together for a specific project. Beads, ribbons, and charms can add a lovely, personal touch to your finished project.
Ready to Stitch
Find the center of your pattern. It’s usually marked by an arrow or bold line. Then find the center of your fabric by folding it in half horizontally and then vertically, creasing the fabric each time. Put your fabric in the hoop and pull it taught. Check your pattern to see what color thread you need to start with, and then count the squares on the pattern in that color. The pull you thread up in the corresponding spot in your fabric and start making Xs according to the pattern. Each complete cross stitch consists of two pieces – the bottom piece and the top piece (I stitch upper left to bottom right, then upper right to bottom left of each square). There’s really no set way to make your Xs just so long as they’re all going the same direction (all the bottom stitches going to the same direction and all the top stitches going the other direction). You can stitch one complete X at a time or stitch the bottom half for several stitches and then go back and stitch the tops. You can start at the center of the pattern or the top or the bottom, whatever you like. I prefer to start from the top and stitch down the pattern, if possible, but do whatever you feel comfortable with. From here on out, it’s just a matter of following the pattern and transferring that to your fabric. Did you make a mistake? Don’t worry! We all do, all the time. Just frog it (rip it – or ribbit) out. Once you get into a rhythm, it’s so relaxing and mesmerizing.
Finishing Your Project
Once your WIP (Work in Progress) is stitched, it’s still not an FFO (Fully Finished Off) project. You’ll need to wash and then iron your piece dry (this step elicits as much spirited discussion in the stitching community as asking if beans belong in chili). I prefer to wash it and get the oils from my hands off and to iron out the hoop marks. There are so many things you can do with a finished piece! Mount it in a frame and display on a wall or tabletop; mount it in a hoop to hang on the wall or a decorative tree; make it into a throw pillow, put it in a banner, use it as part of a tablecloth or pillowcase. You can cross stich on towels and clothes or make them into holiday or birthday cards. Be creative and show off what you’ve worked so hard to complete!

Getting Social
There is another aspect to stitching that is at once modern and at the same time very nostalgic and old-fashioned. Cross stitching has followed the charge to social media. There are Facebook pages and groups to join. YouTube channels with all the tutorials you can possibly want to see. Stitching Socials to participate in either in-person or virtually. Stitch-a-Long’s (SAL) to take part in with others. In a SAL, a piece of the pattern is revealed periodically (monthly, weekly, etc.) and everyone in the group works on the same pattern at the same time. All these channels allow stitchers to meet other like-minded individuals and talk about techniques, ideas, progress, problems, and triumphs. These modern, social media driven methods all mimic sewing circle from days gone by where groups of women would get together for the same reasons – to talk, learn, socialize, and stitch projects both large and small.
Cross stitching is such a relaxing, peaceful, and soothing activity. It offers the opportunity to master ancient skills and produce a unique final product that you can be proud of. You can make new friends and learn new things. I hope you give it a try. If you have any questions or would like to have a virtual stitching lunch break, just let me know!
About the Author
Karen is an LMS Administrator with several years’ experience implementing, managing, and updating Learning Management Systems and has a bachelor’s degree in Business Administration from Northwood University. Karen learned to cross stitch and embroider as a child from her grandma and has continued to stitch throughout her life.
Read My Hallam Story
About Hallam-ICS
Hallam-ICS is an engineering and automation company that designs MEP systems for facilities and plants, engineers control and automation solutions, and ensures safety and regulatory compliance through arc flash studies, commissioning, and validation. Our offices are located in Massachusetts, Connecticut, New York, Vermont and North Carolina and our projects take us world-wide.


What's new in SQL Server Reporting Services 2016?
What is Toxic Gas Monitoring System (TGMS) Ownership and the Responsibilities of Ownership?

No Comments Yet
Let us know what you think